Uploading & Managing Evidence
Providing Evidence for Hours, Seals, and Skills
Students will be asked to upload and manage evidence to earn hours towards work-based learning, community service, earn seals, and progress in skills. Students will have access to uploading evidence for:
- Activities/Assignments
- Internships
- Work-based learning hours tracking
- Community Service hours tracking
What Does Evidence Look Like
When providing evidence, you may be asked to
- Complete a reflection.
- Provide a URL or link associated with the evidence
- Upload a file displaying
Courses or Internship/Work-Based Learning assignments have Performance or Reflection Tasks.
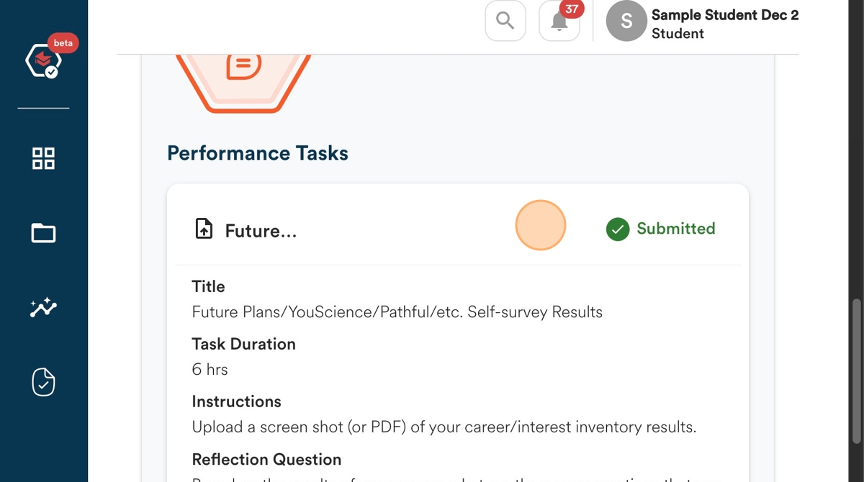

There can be multiple Performance or Reflection Tasks for one assignment. This means that numerous pieces of Evidence may be asked to be uploaded for just one assignment.
The creator of the assignment has already determined evidence for the Performance or Reflection Tasks .
This means that information such as title, skills, time spent, location, evaluator, and whether it is work-based learning or community service may already be determined before the student submits their information.
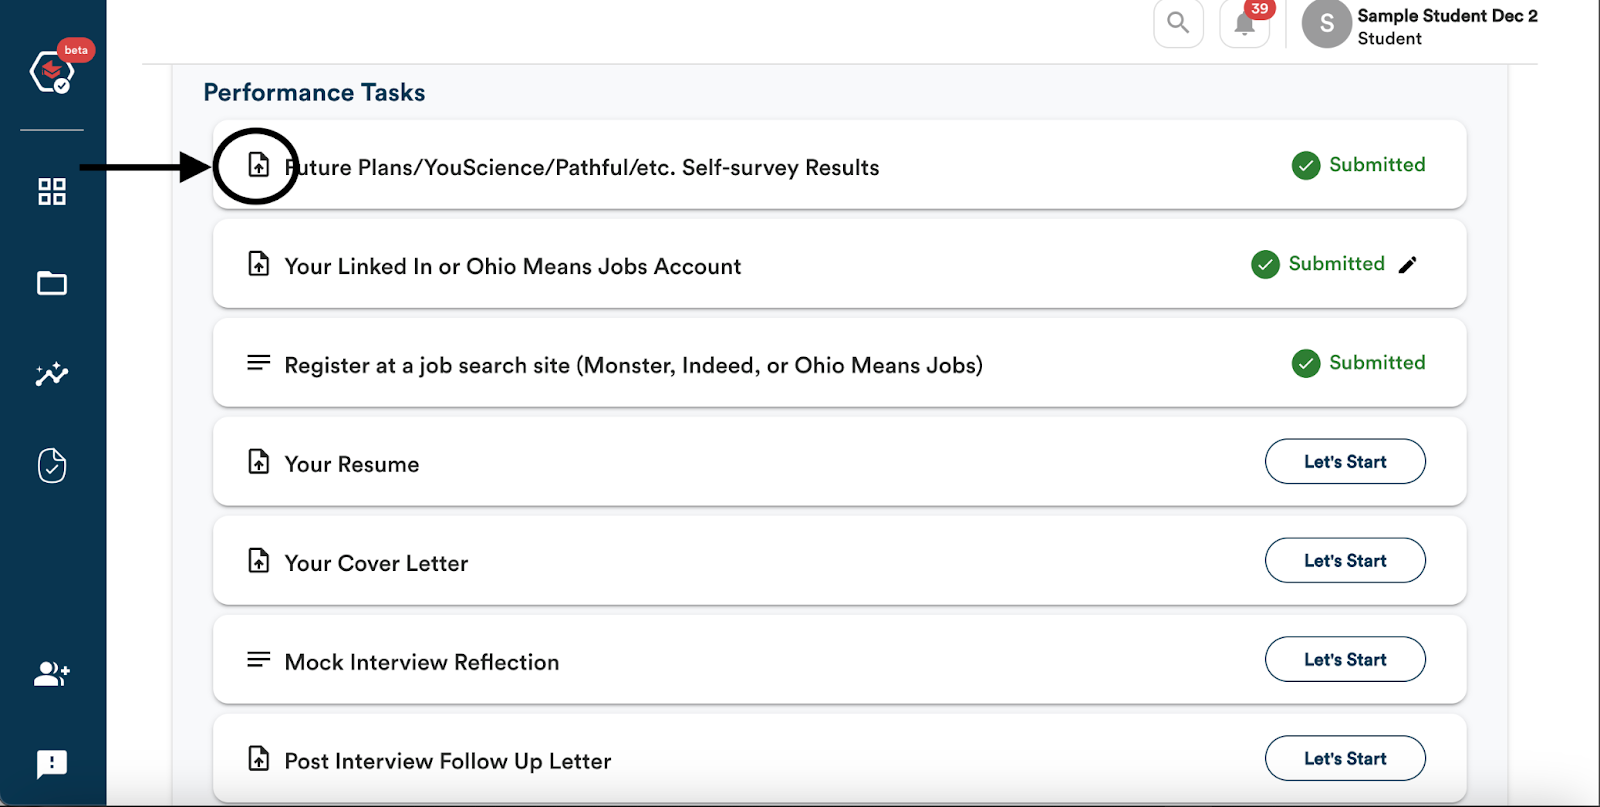
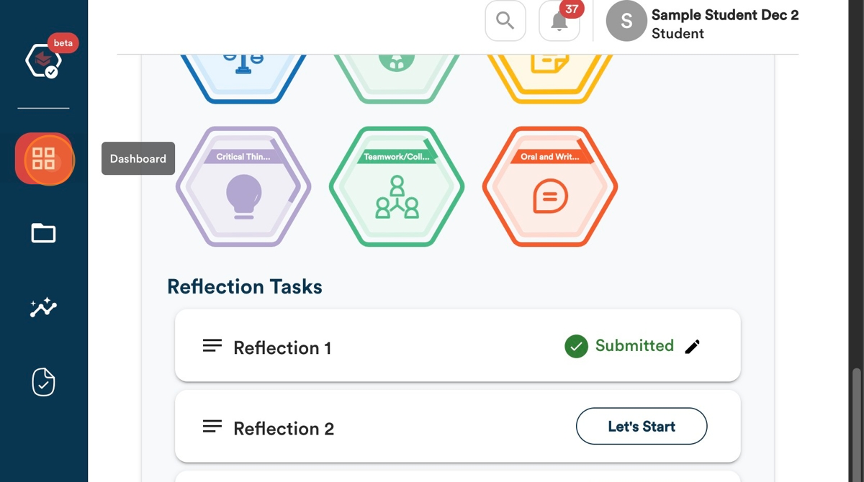
This information will be displayed when you click on the “Let’s Start” button underneath the tasks area of the assignment.
Process of Uploading Evidence for Assignments - Performance or Reflection Tasks
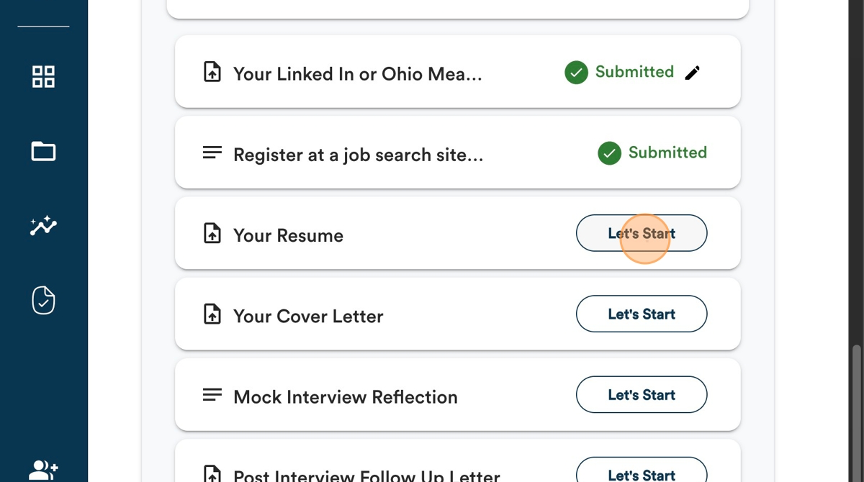
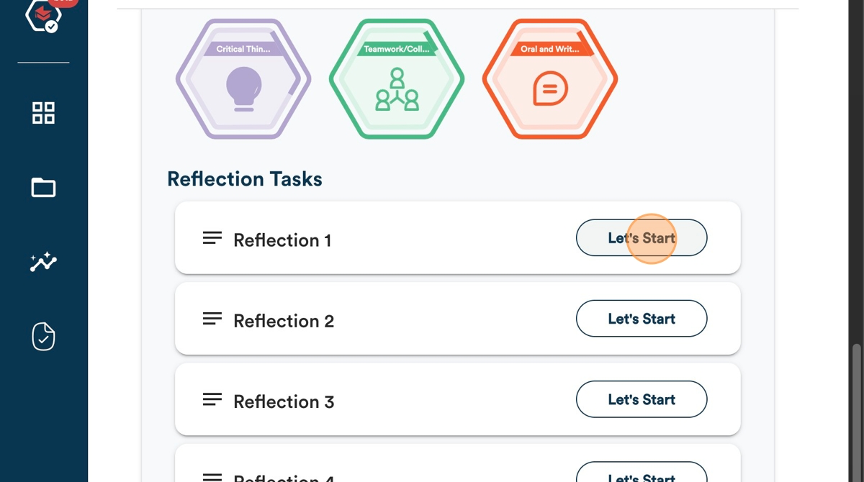
To submit evidence for the performance of Reflection Tasks for an assignment
- Click on “Lets Start” for the task that you are want to submit evidence for under an assignment.

2. Depending on the task, you may be asked to provide evidence by completing a reflection, uploading a file, providing a link, or a combination of all of these methods. This can be indicated by the symbol next to the Task Title.
This can be indicated by the symbol next to the Task Title.
3. When you click on the “Let’s Start” button, you will enter a screen that allows you to provide your evidence.
Example: Reflection Task for Work-Based Learning – Internship to demonstrate skills earned.
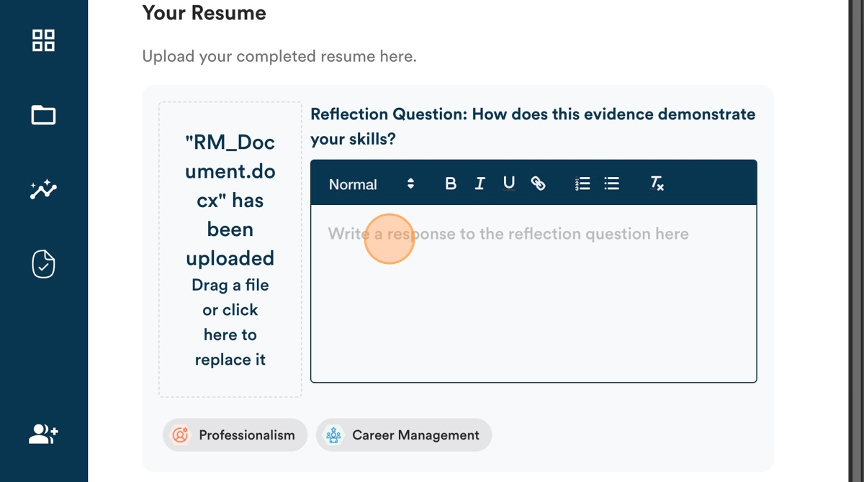
Example: Performance Task – Uploading a Resume
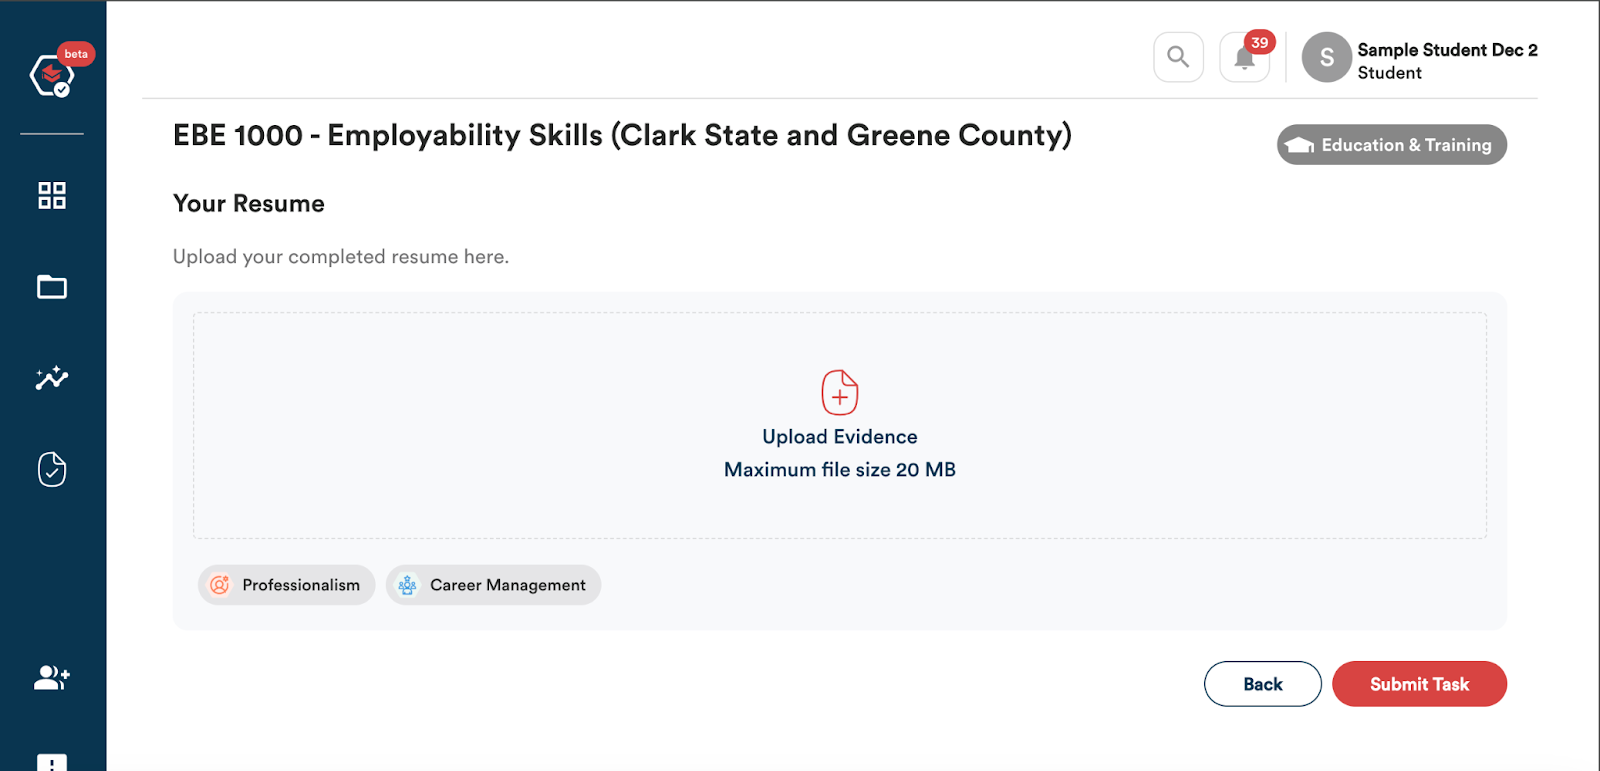
4. For Performance Tasks, you will see the Title of the Task, Instructions on how to complete the task, and the skills that are associated with completing the task and submitting the required evidence.
5. For Reflection Tasks you will see the Evidence Title;
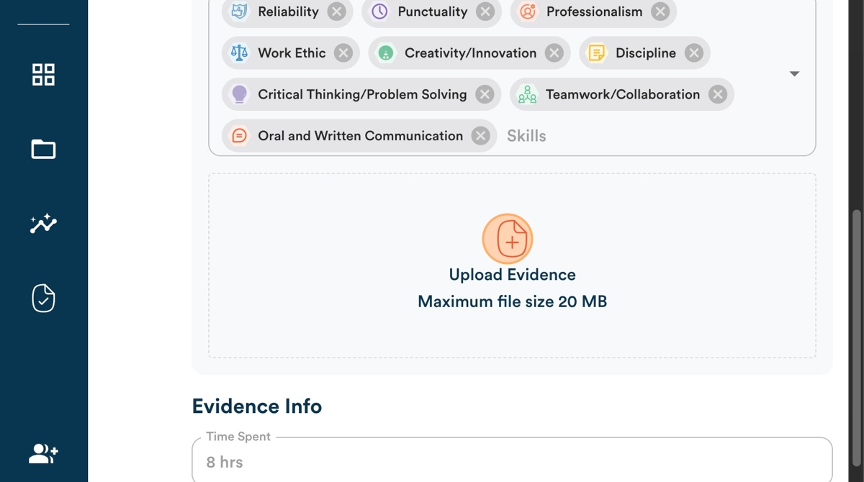
6. The skills associated with the Evidence being submitted;’
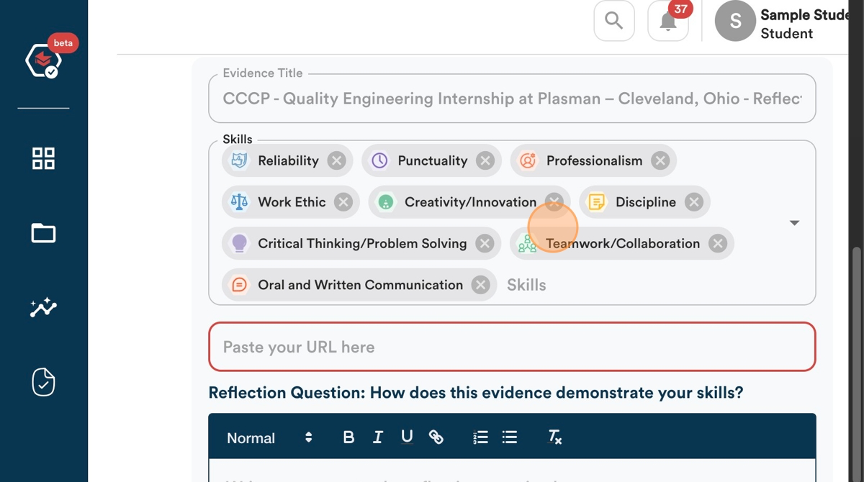
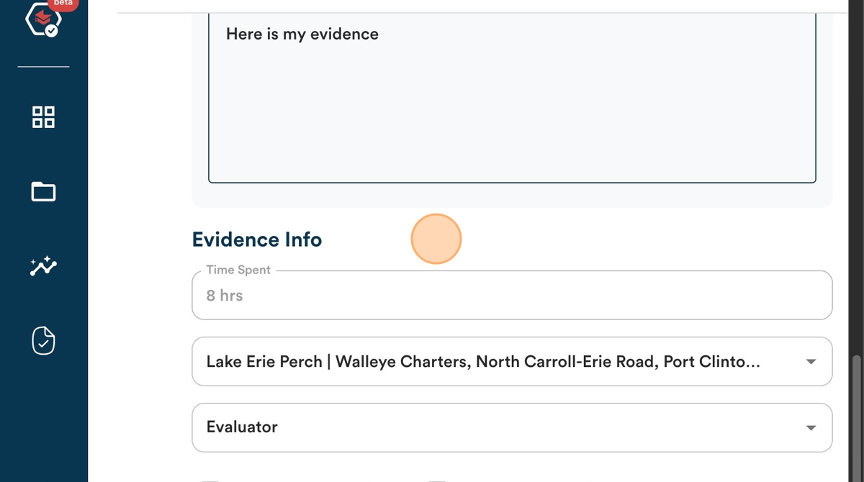
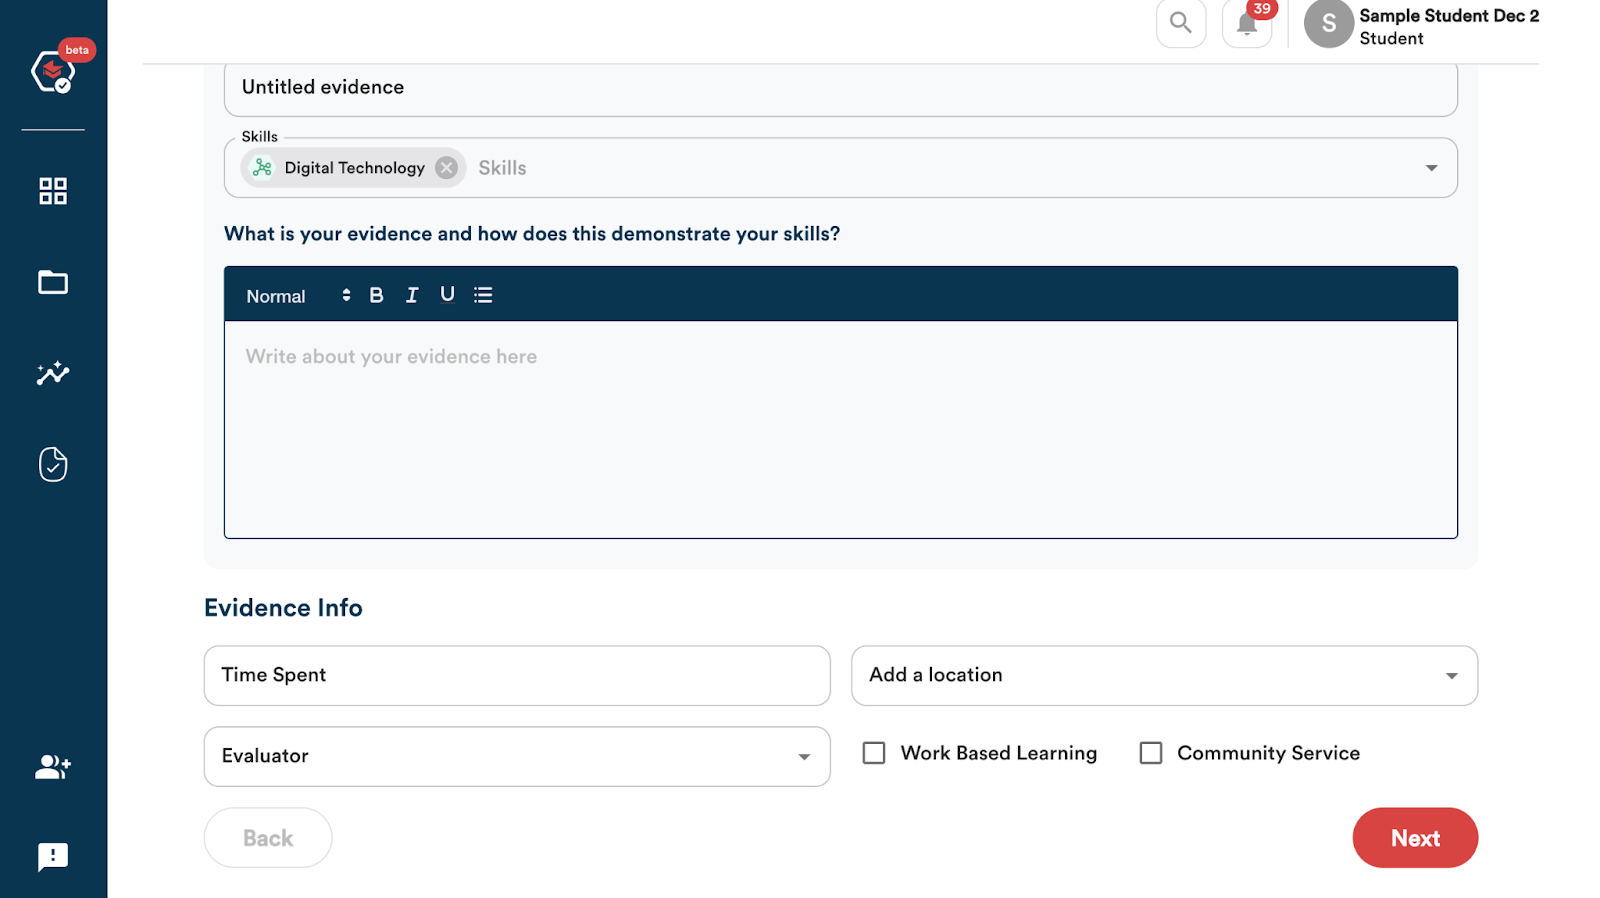
7. The area to submit your evidence; Each area will look different depending on what type of evidence you are submitting.
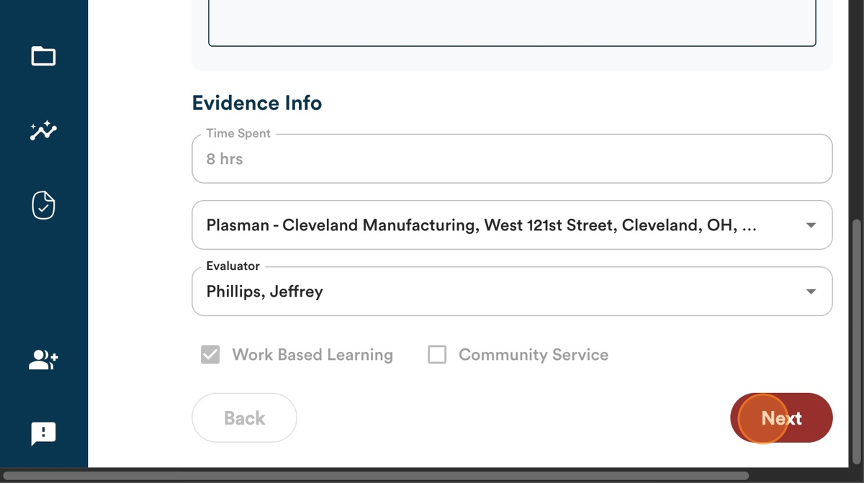
8. And finally the Evidence Info, which includes the Time Spent on the task, the Location where the task took place, the Evaluator of the Evidence, and whether the task will count towards Work-Based Learning hours or Community Service Hours earned
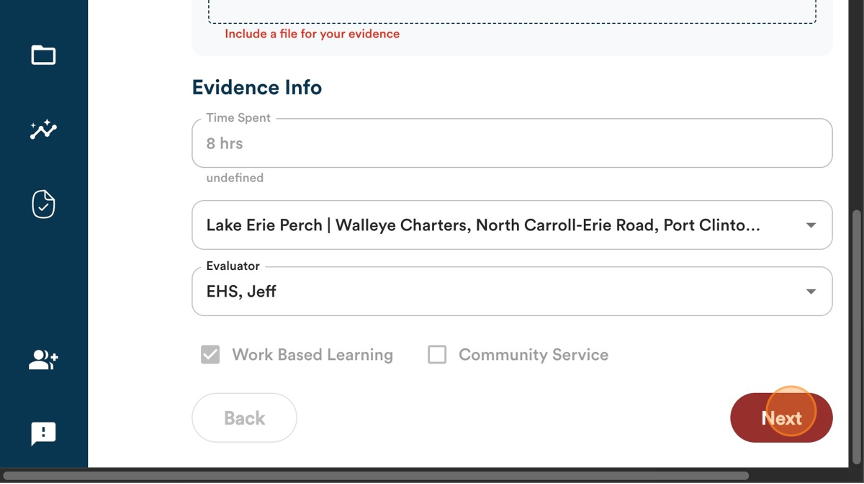
9. As a student, you are not able to enter the Time Spent or whether the task is Work-Based Learning or Community Service, as the creator determines this.
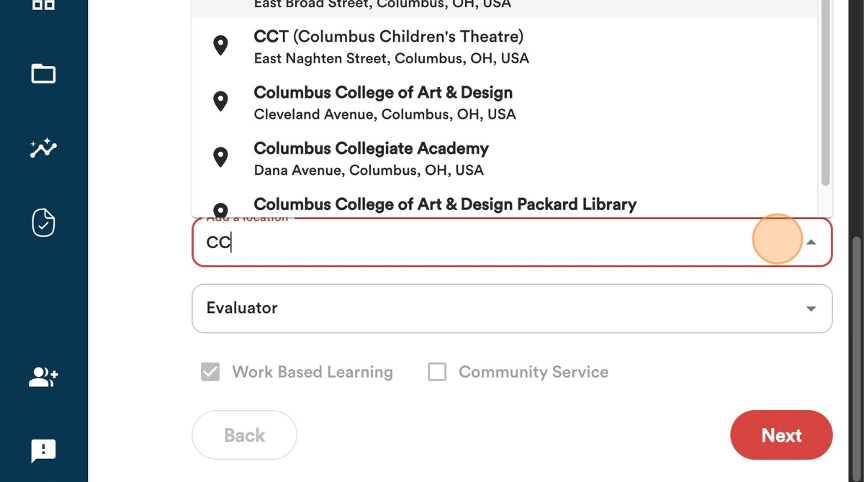
10. You will need to enter the location where the task was completed.
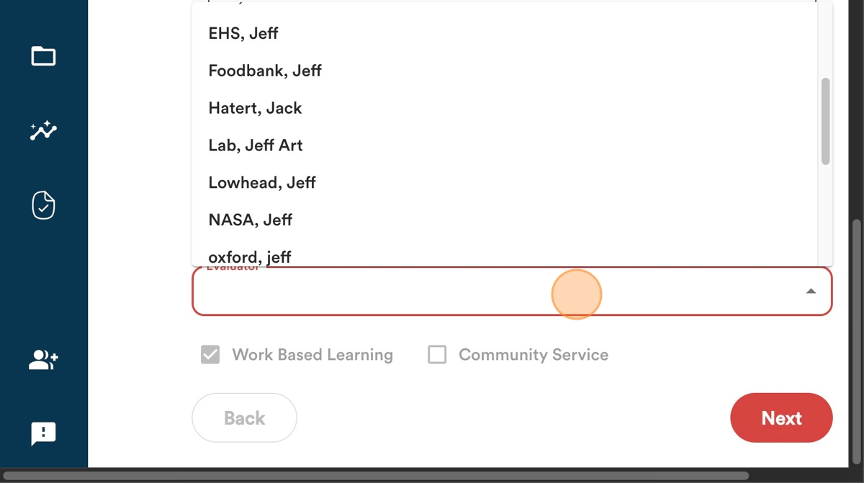
11. You will need to select who the Evaluator should be for the evidence. The Evaluator could be your instructor, supervisor, mentor.
12. You can select an Evaluator by either clicking on the down arrow at the end of the box OR by typing their name into the box. If they already have an account, it will be an available option.
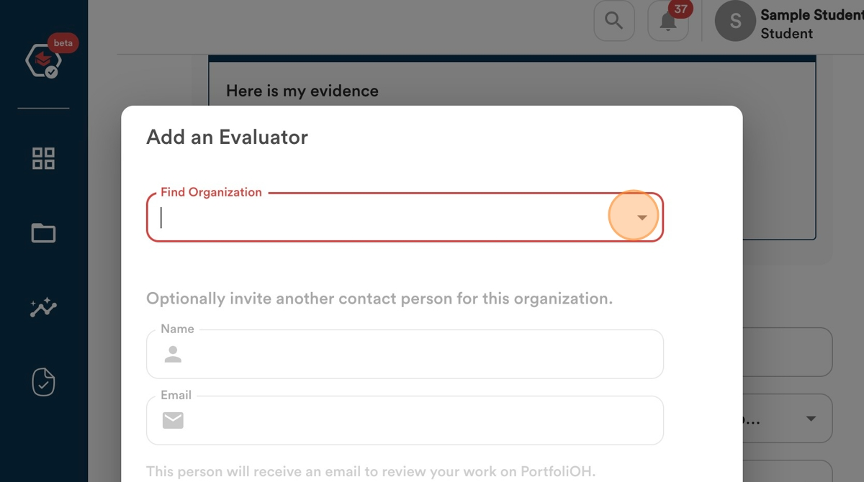
13. You can also add an Evaluator who may not already be in the system. You will need to enter their associated organization, name, and email address.
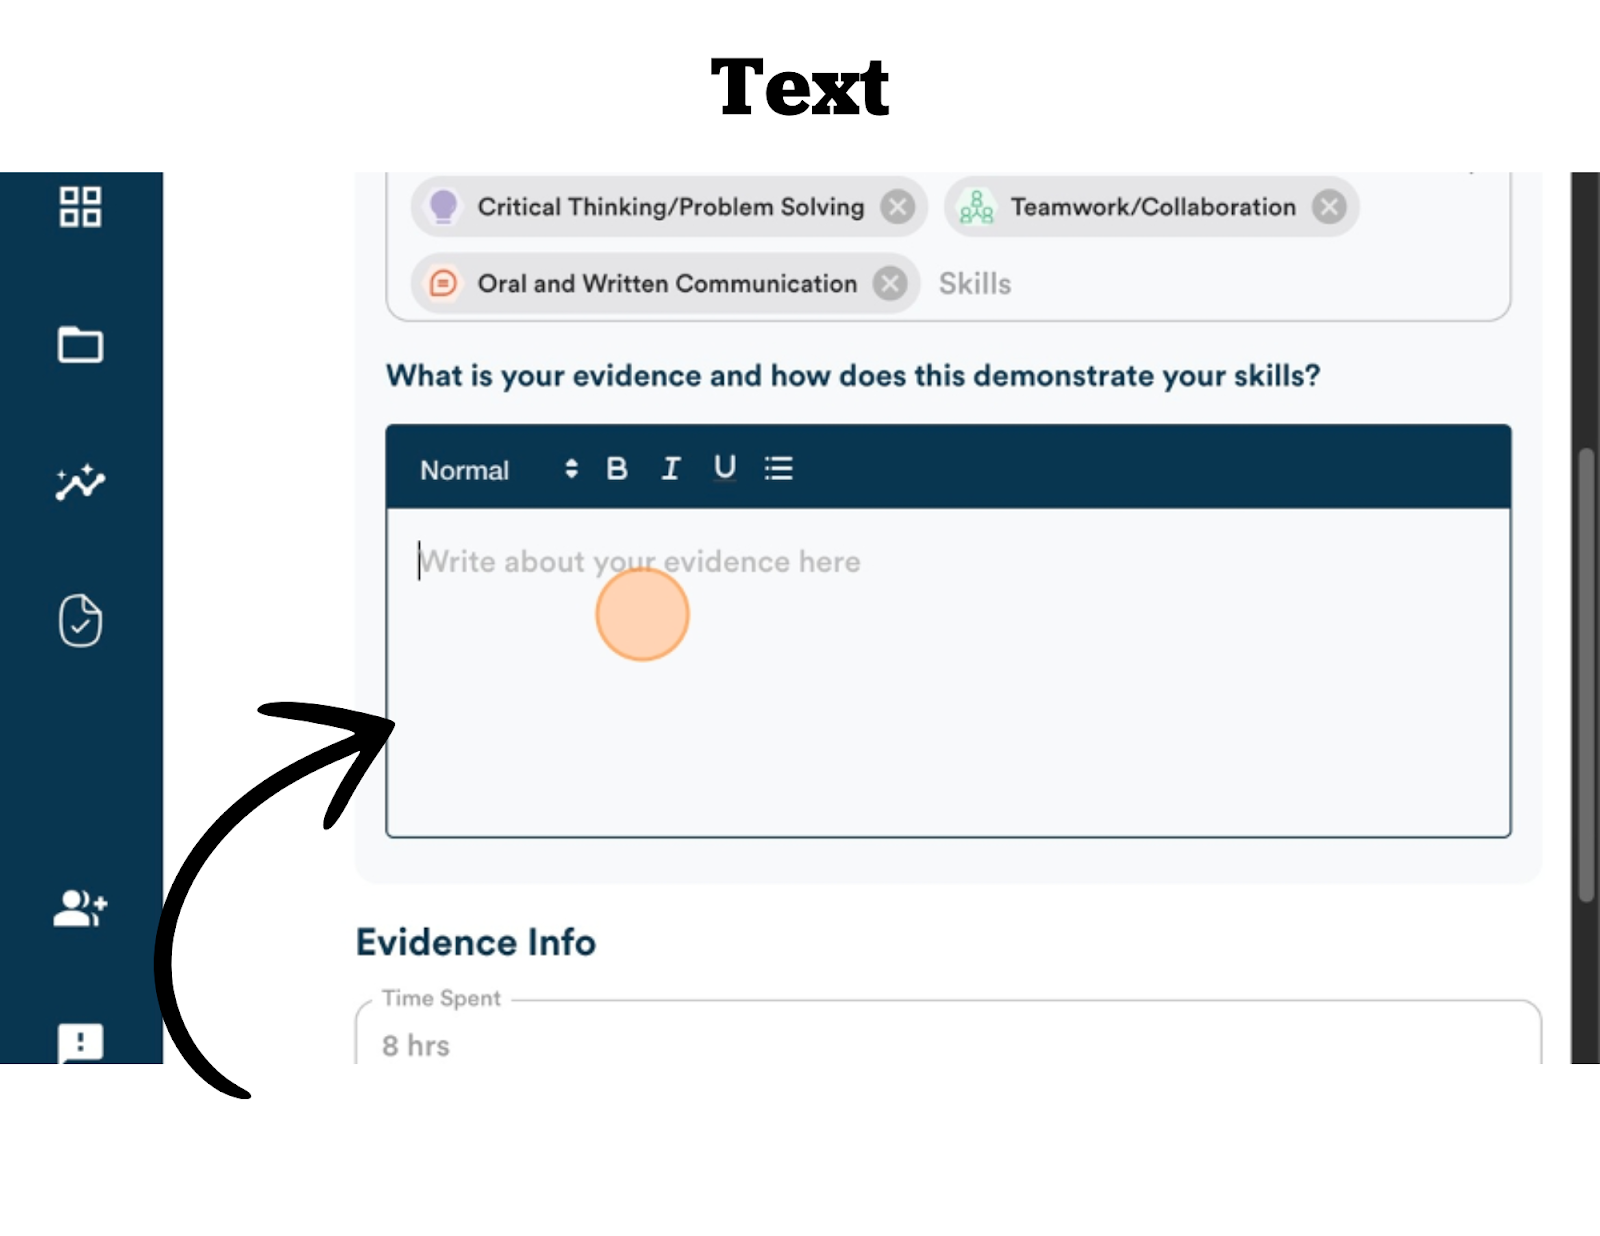
14. For Entering Text Evidence: When you click on the “Text” option for evidence, type your evidence into the provided text area.
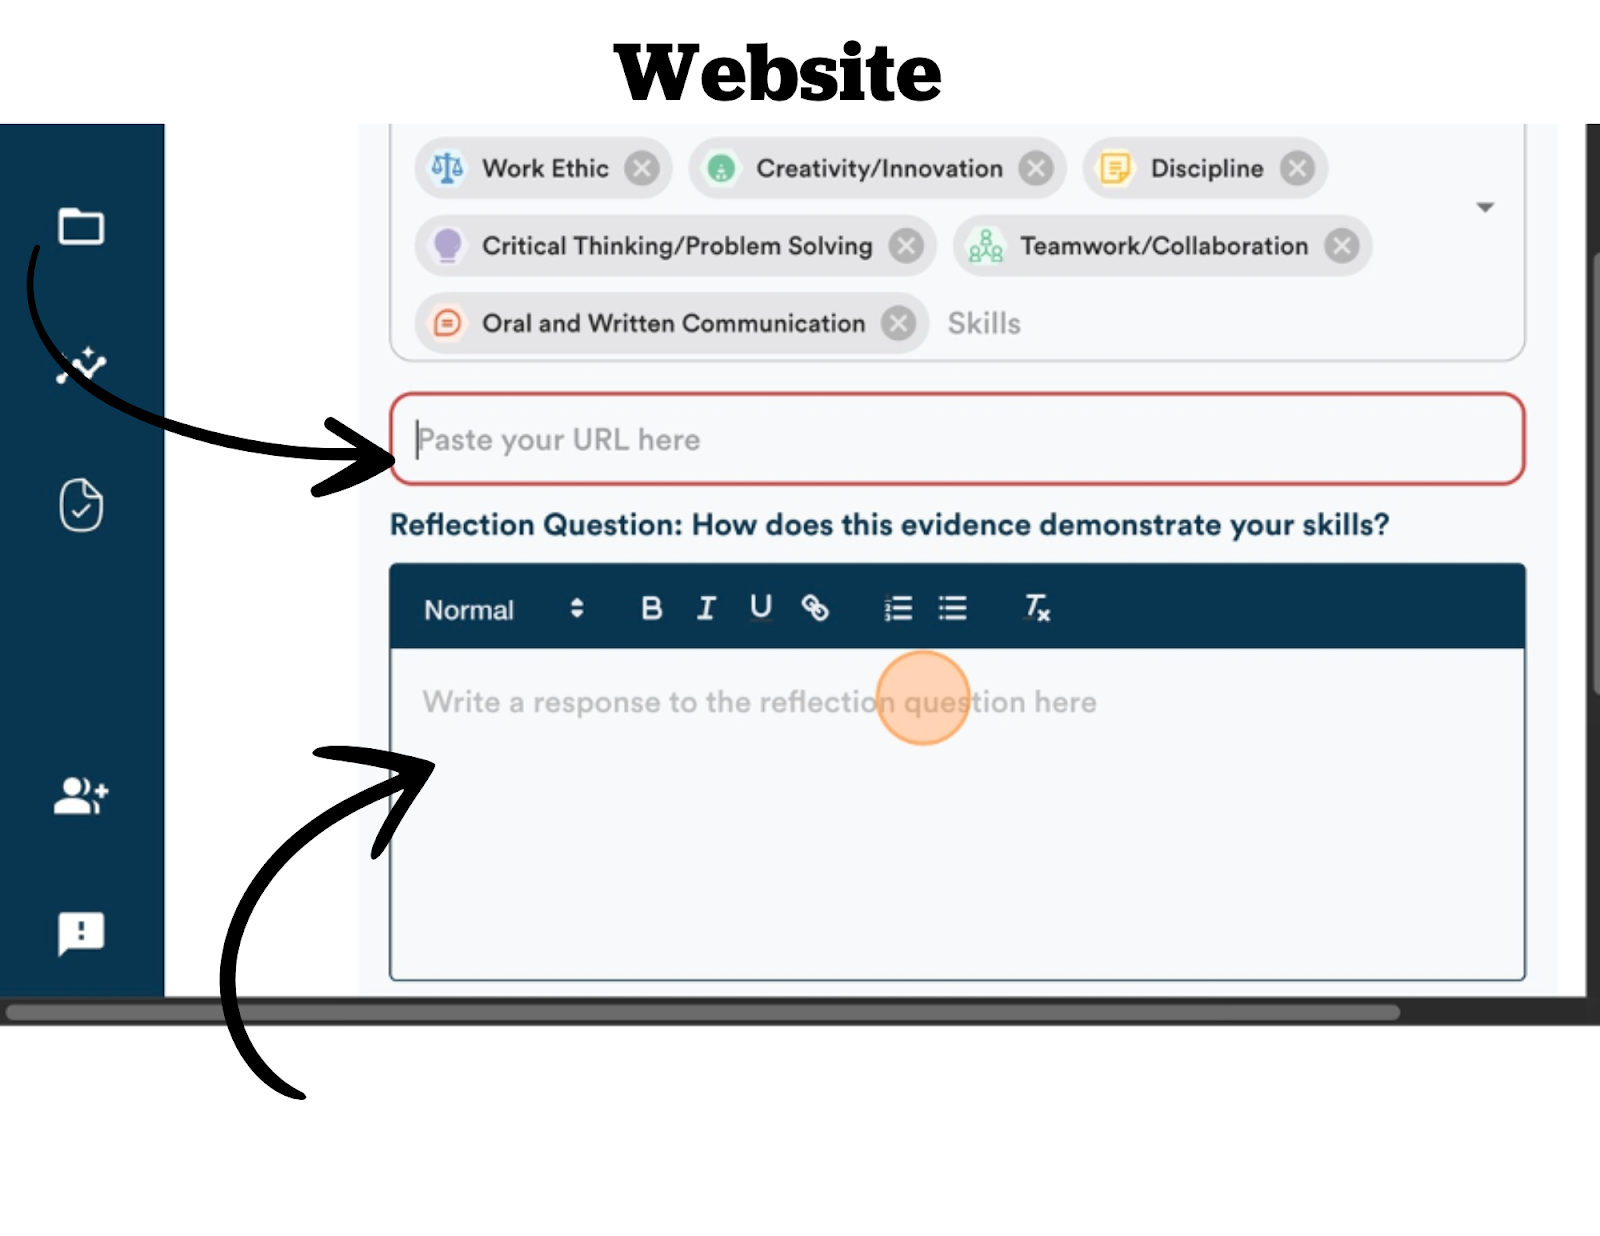
15. For Entering Website Evidence: When you click on the “Website” Option for evidence, paste the URL into the provided box as well as provide reflection on how the evidence provided in the URL demonstrates your skills.

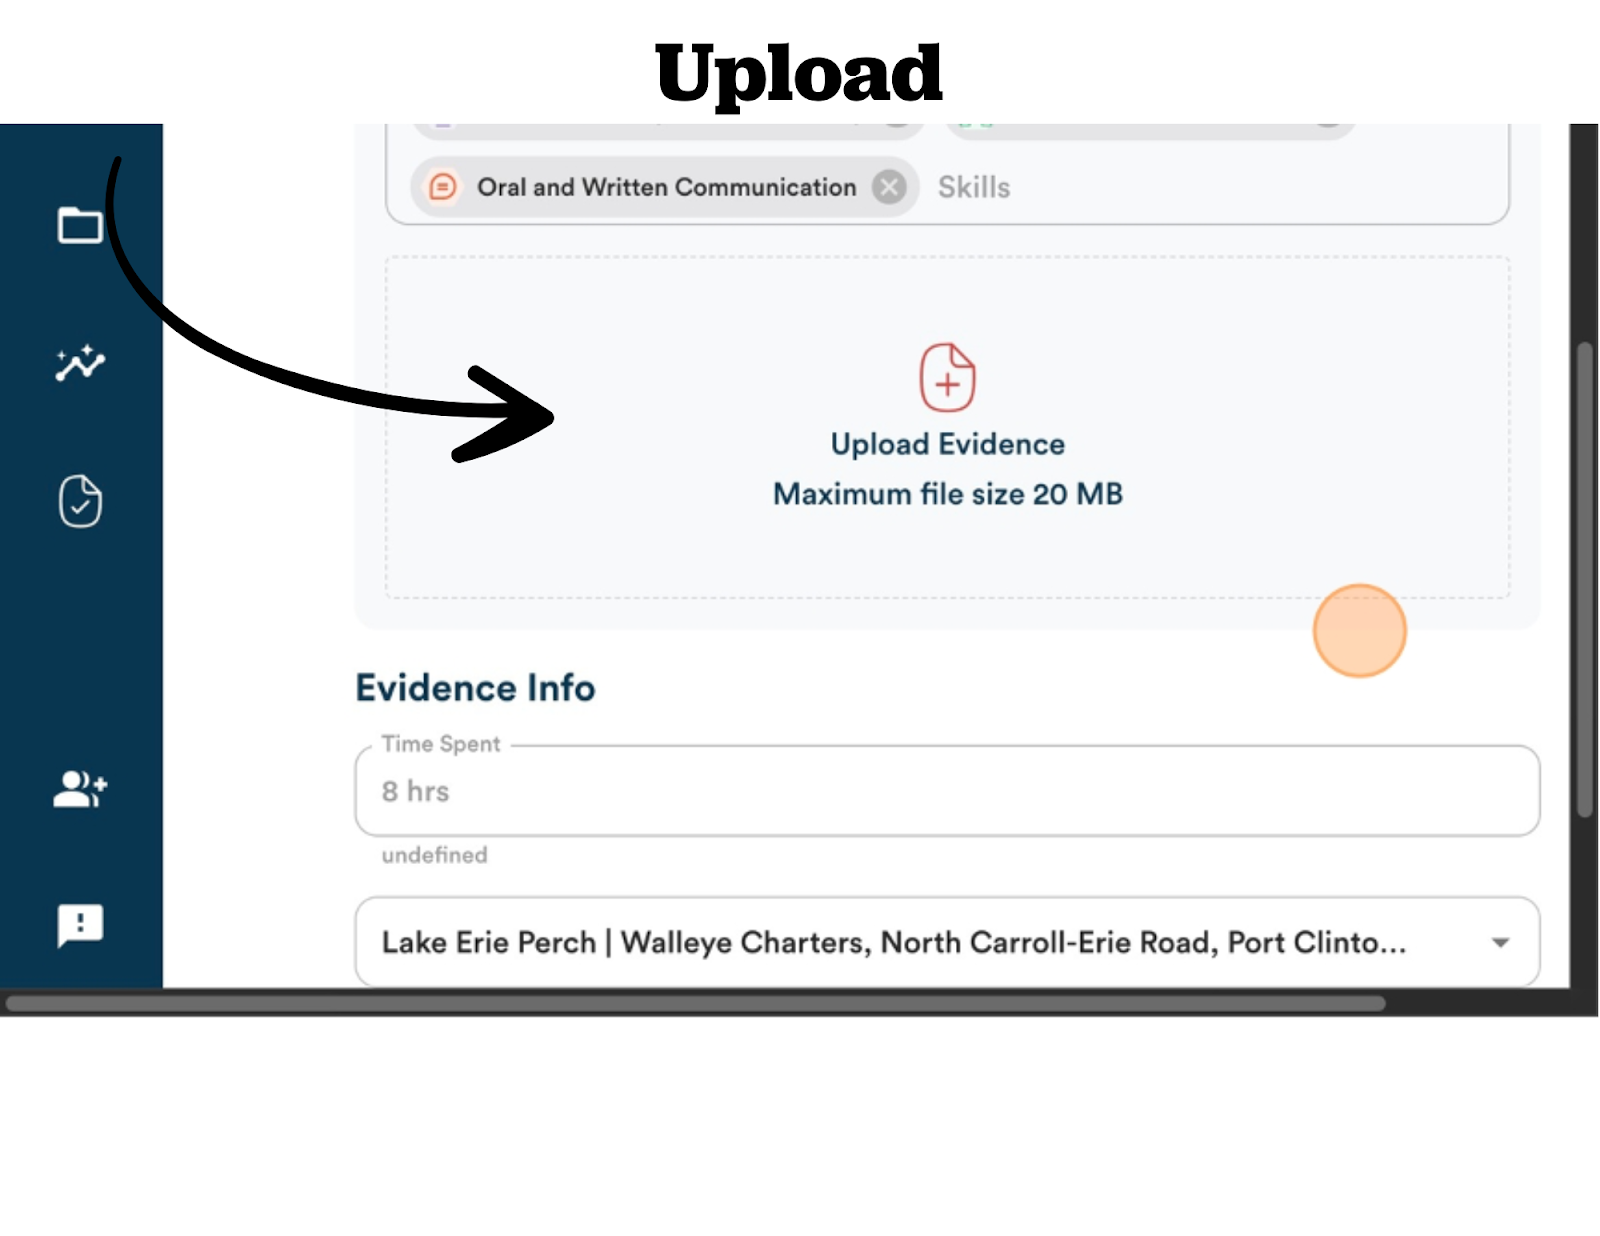
16. For the Upload Evidence: When you click on the “Upload” option for evidence, you will be given an upload area to drag and drop a file into. This file should demonstrate the skills acquired through the task. This file can be a photo, a PDF file, a Word document, etc.
17. Once you have dropped the file into the “Upload Evidence” area you will need to answer a reflection question about your evidence.
18. Once you have entered your evidence for your Reflection or Performance Task, you will click “Next” at the bottom right corner of the screen.
19. You will then see a screen that asks you to reflect on the task/activity that you just completed. You will select from 5 different emoji faces.
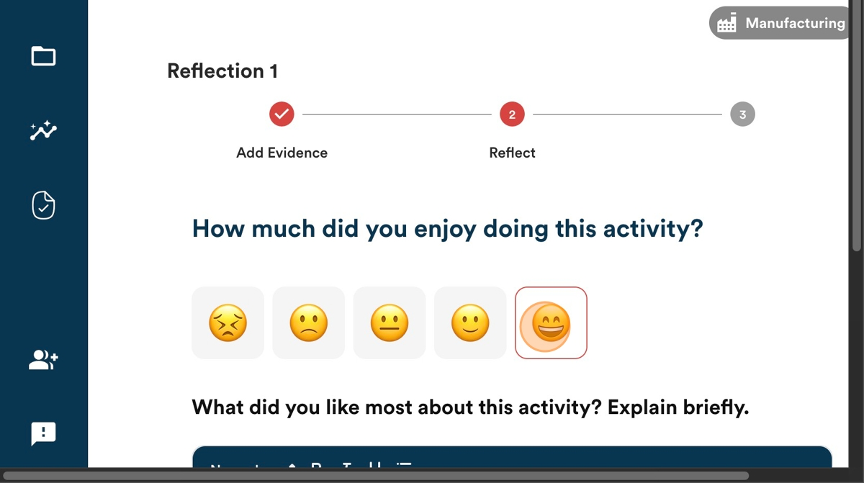
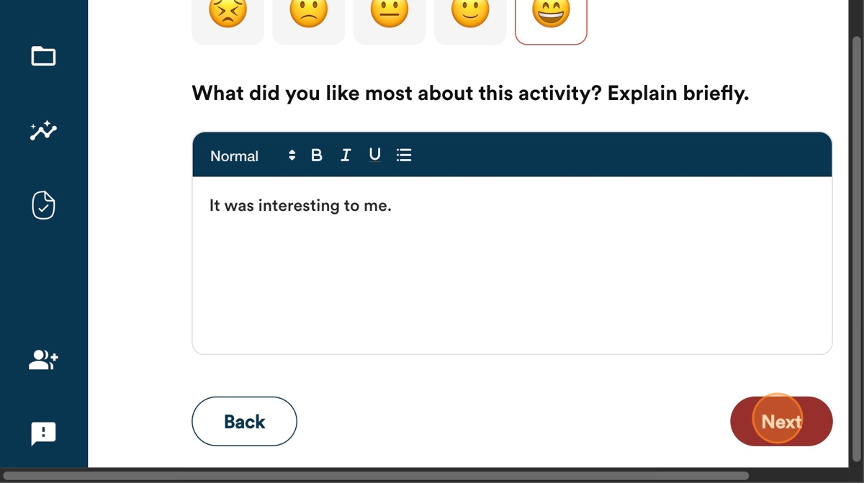
20. You will also then be asked “What did you like most about this activity? Explain briefly”. Enter your text into the provided box. Then click “Next”
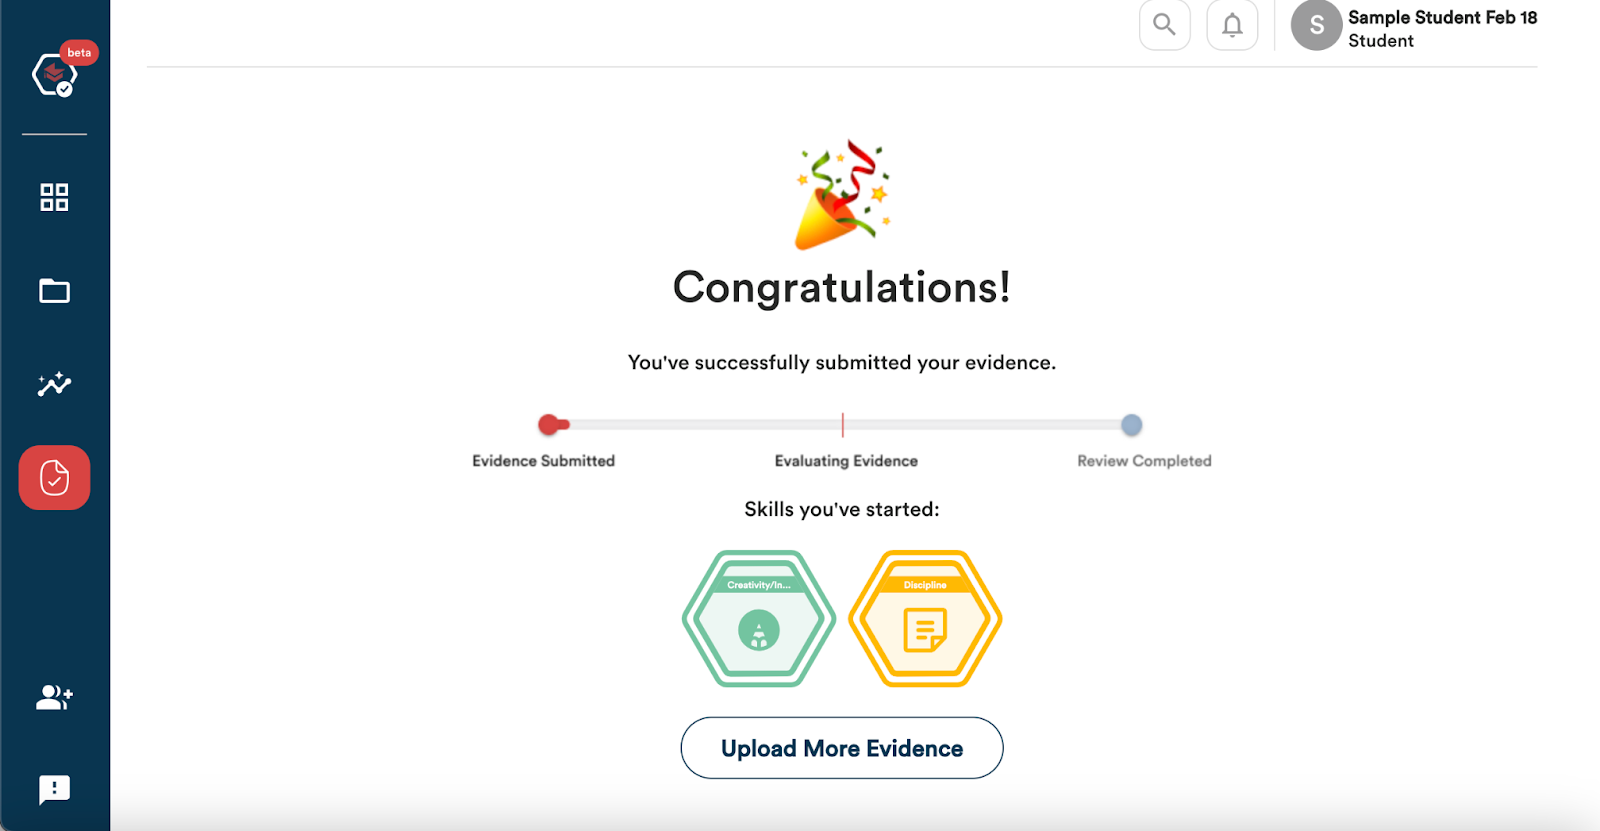
21. You will then see a screen summarizing your task information: Evidence and Feedback.
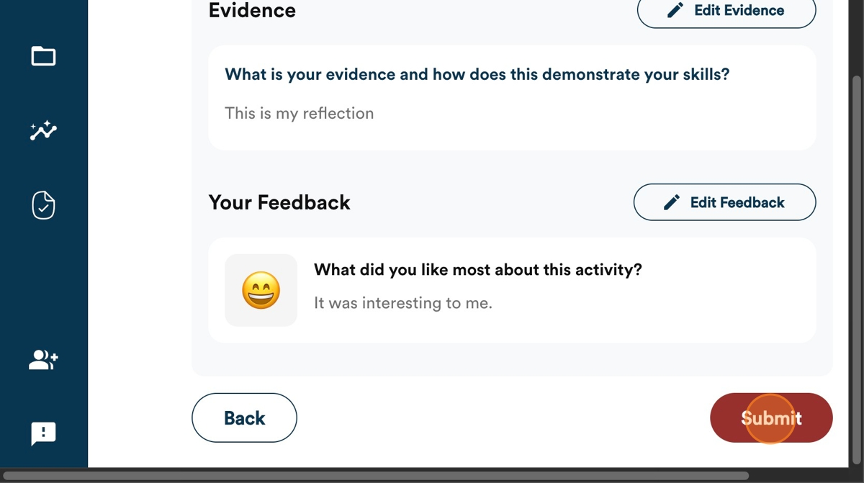
22. Review the information and click “Submit”. You have successfully submitted the task for your assignment.
Uploading Your Evidence - Skills & Hours Earned
You can add your evidence towards Work Based Learning or Community Service hours by:
- By clicking the + Add Evidence buttons for each option located in the top right area of the dashboard
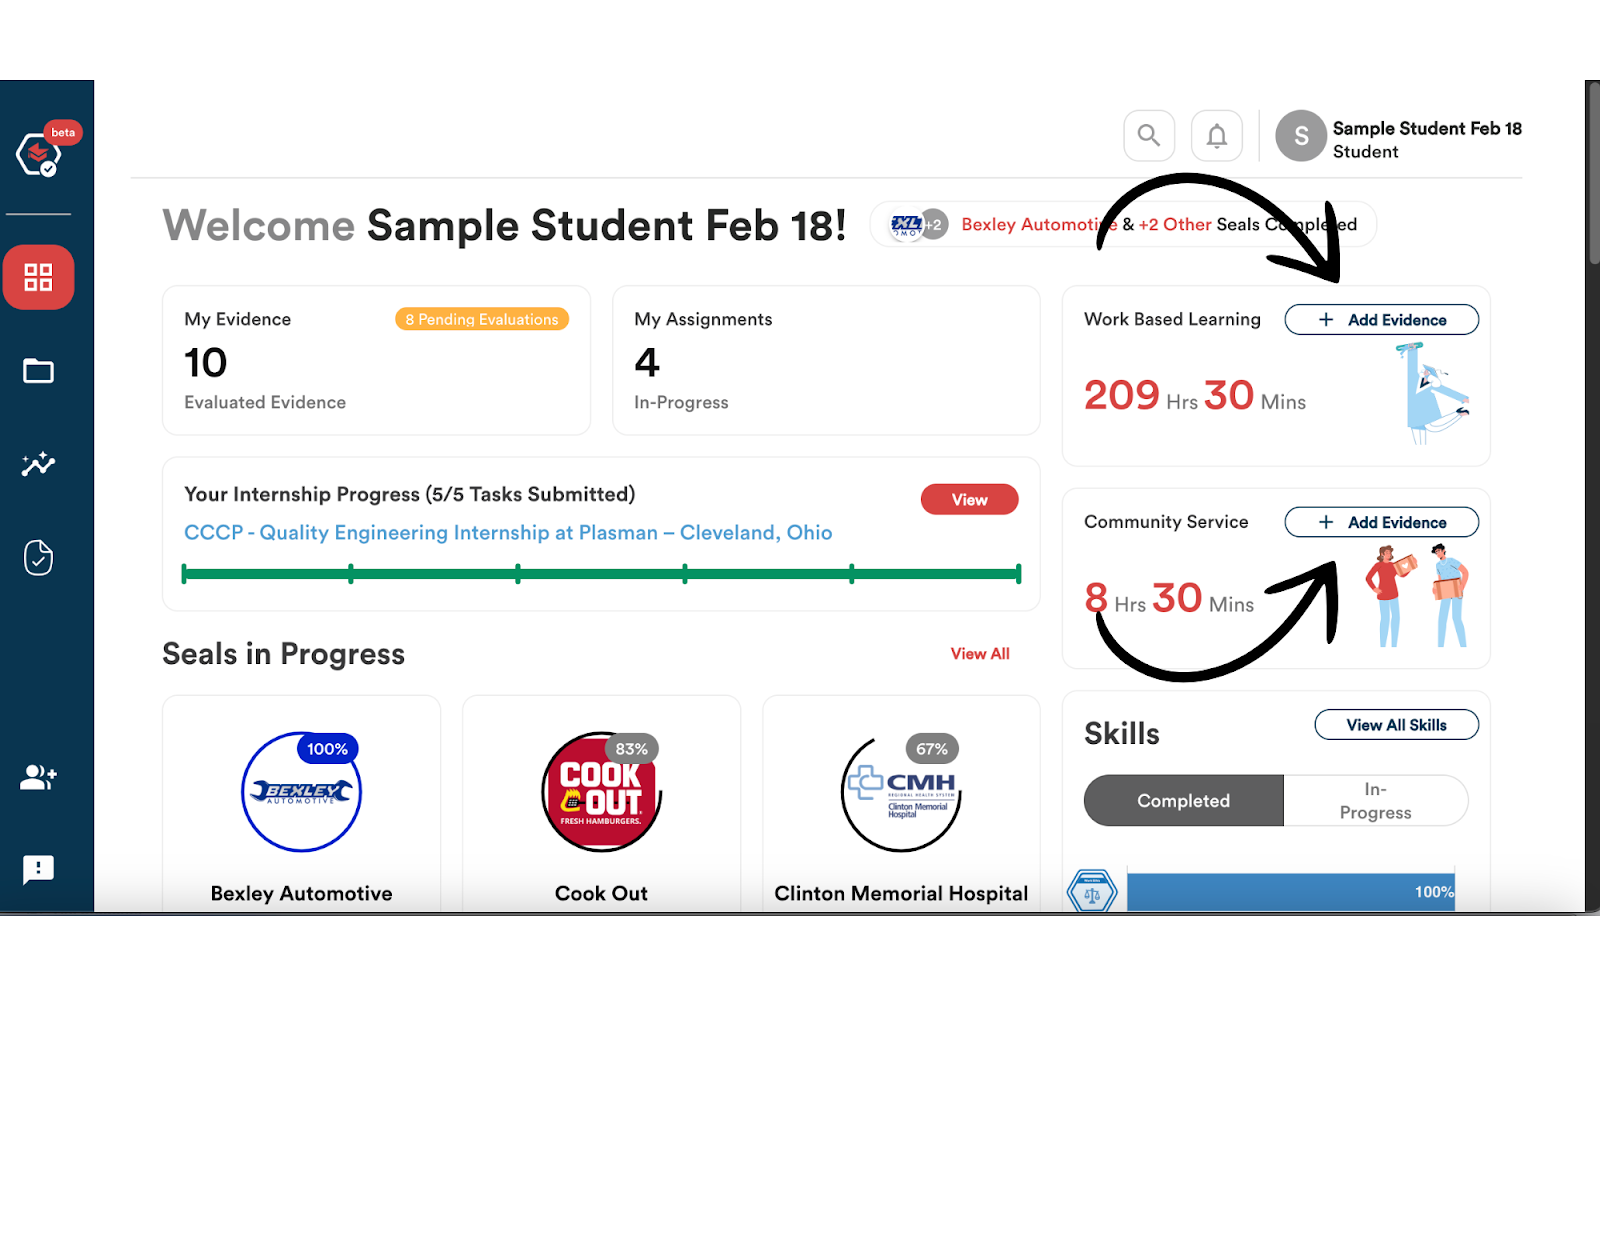
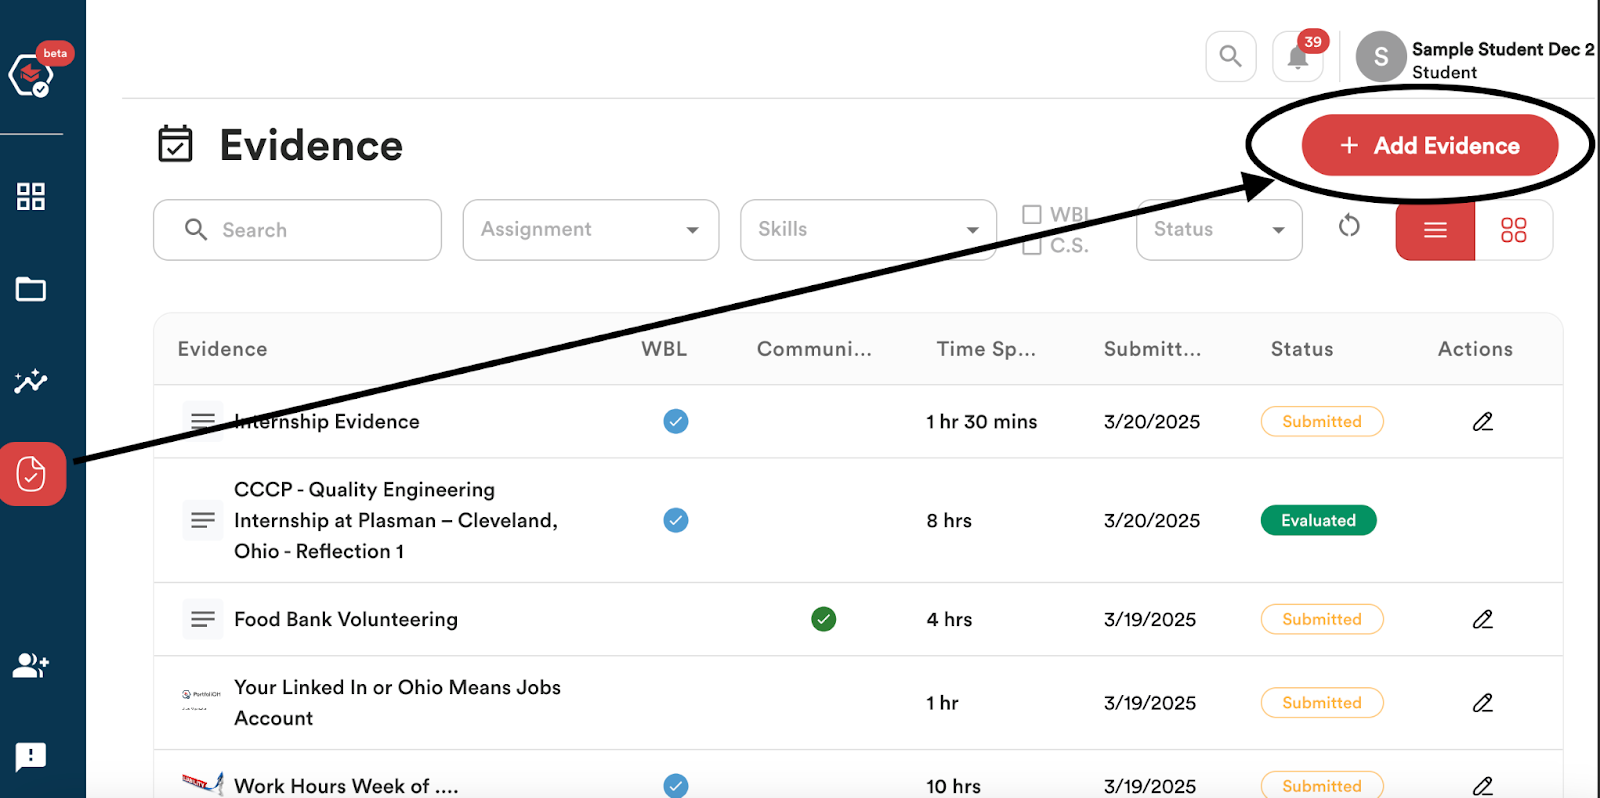
2. Or by clicking on the Evidence icon located on the left side navigation bar.
You are also able to add evidence towards earning skills by:
- Clicking on the “View All Skills” button on your dashboard.

2. Clicking on the “Skills icon located on the left side of the navigation bar.
3. Once, students will toggle to the Skills section of the page (top right corner).
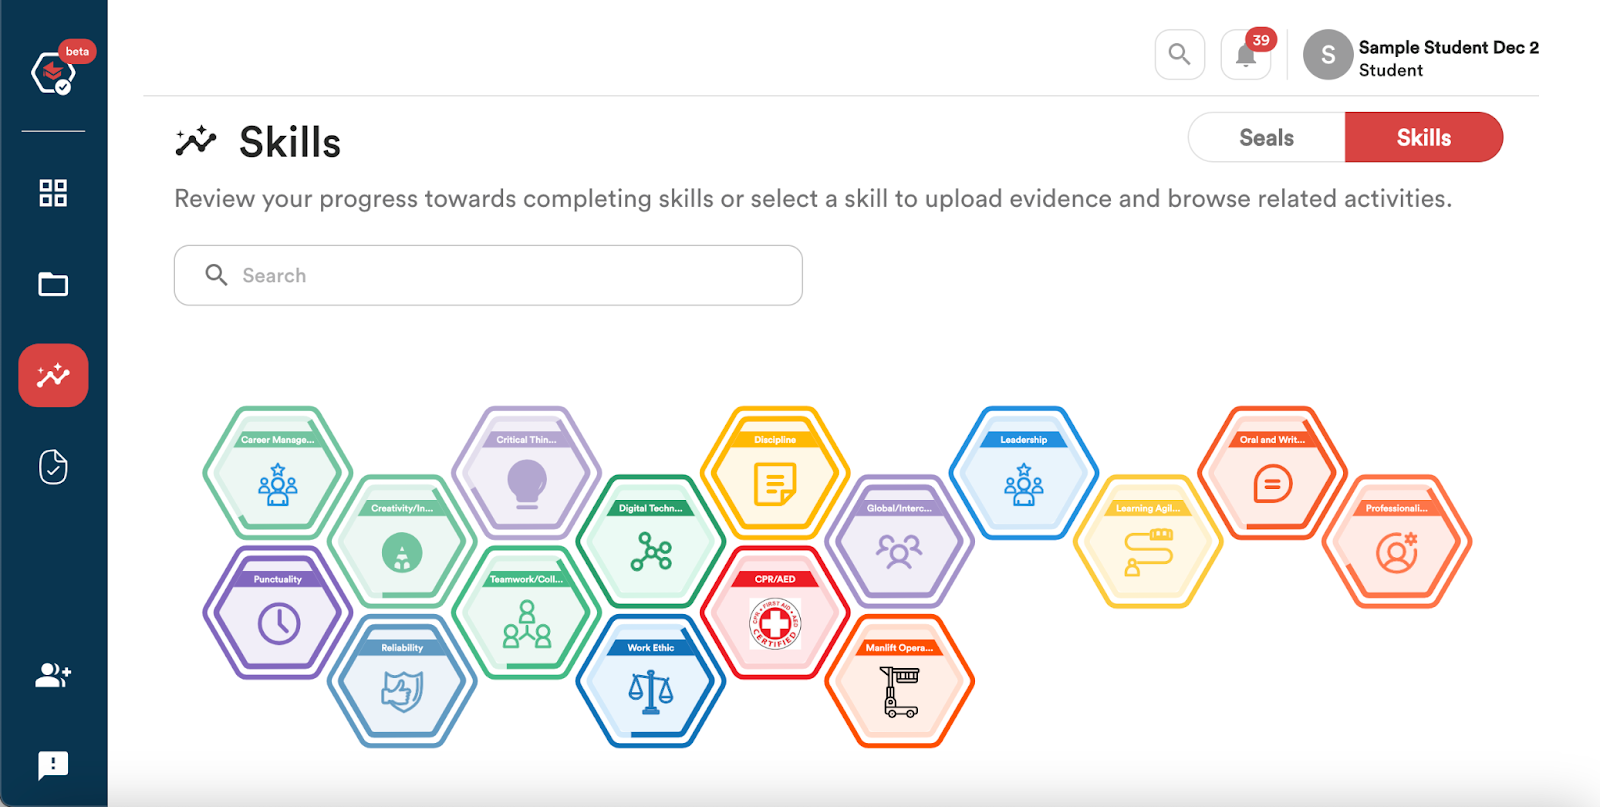
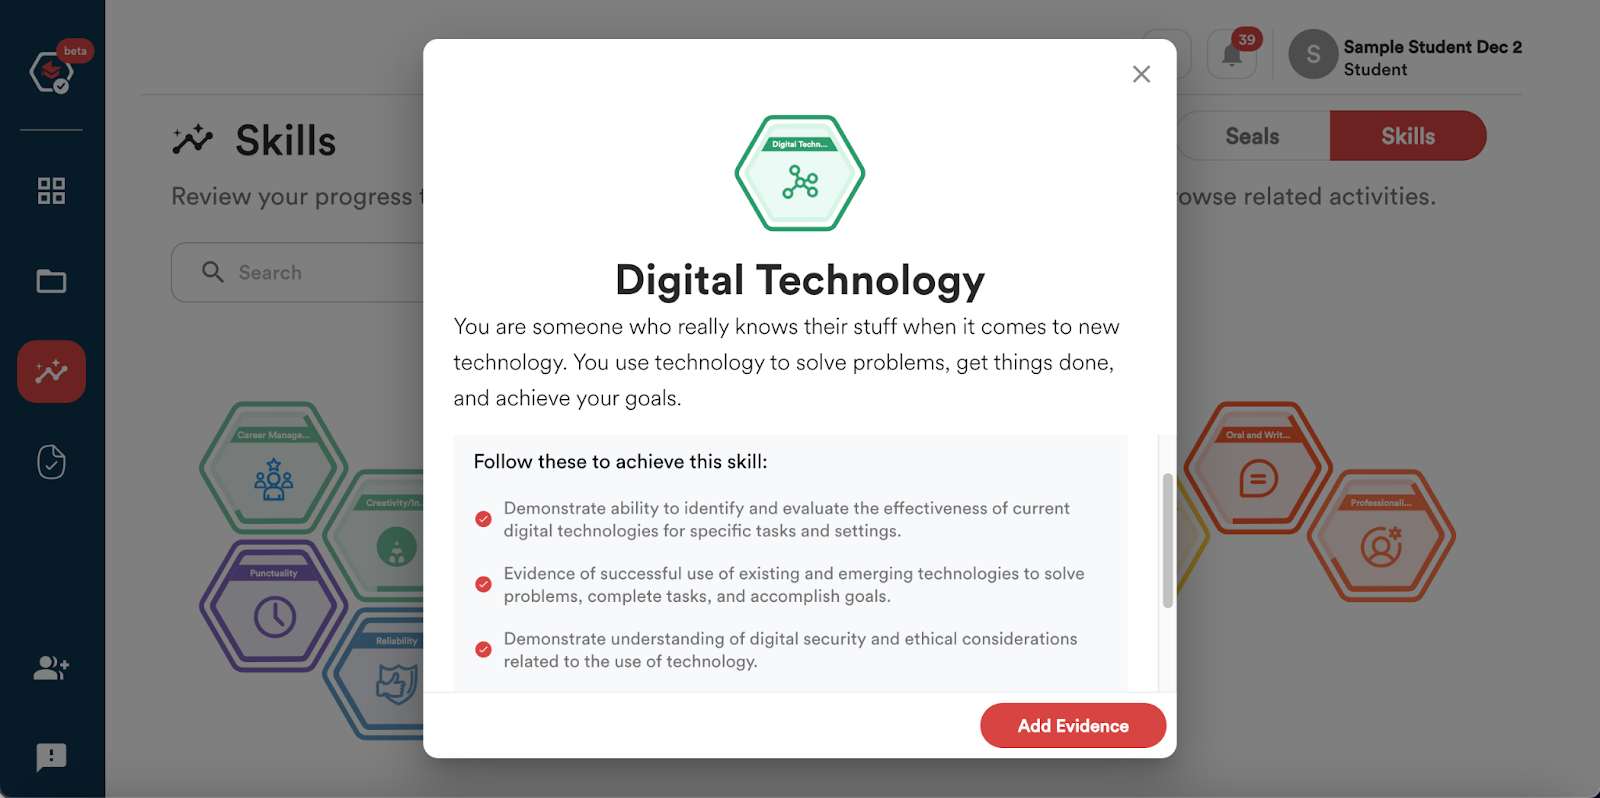
4. Click on the skill they want to focus on. A box will appear that explains the Skill and what can be done to achieve it. Click on the Add Evidence button in the bottom right corner of the box.
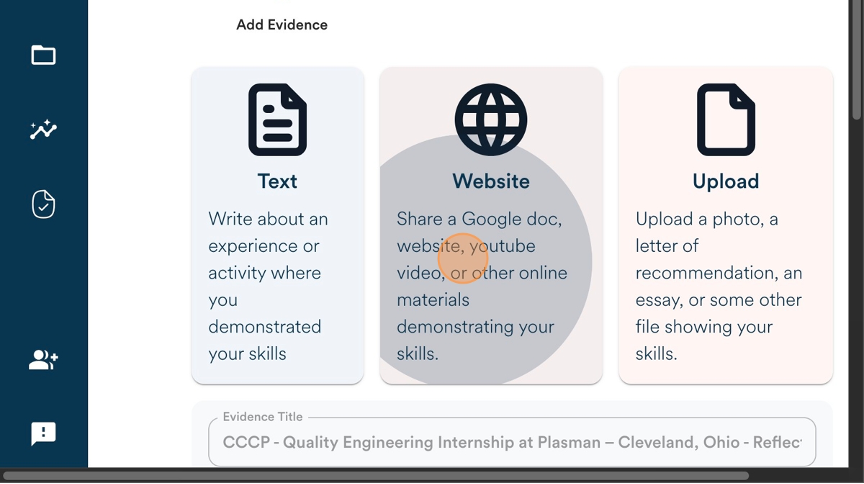
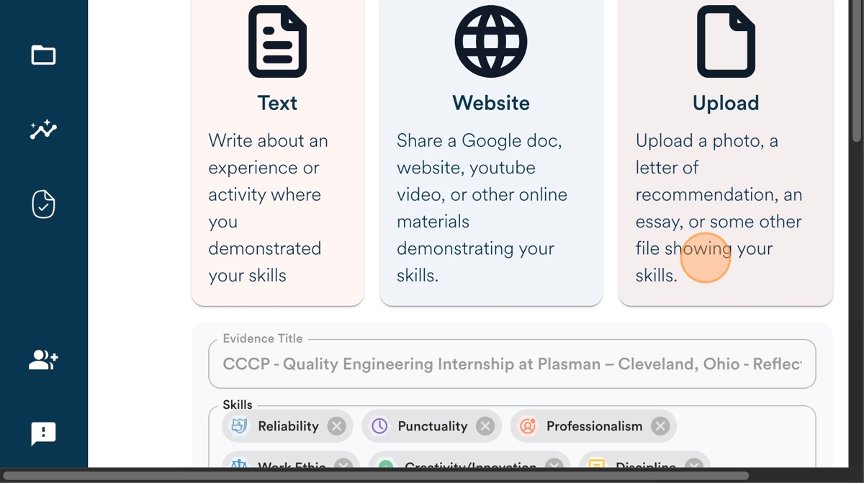
When submitting their evidence, students will choose which type of evidence they will submit:
- Text
- Website
- Upload
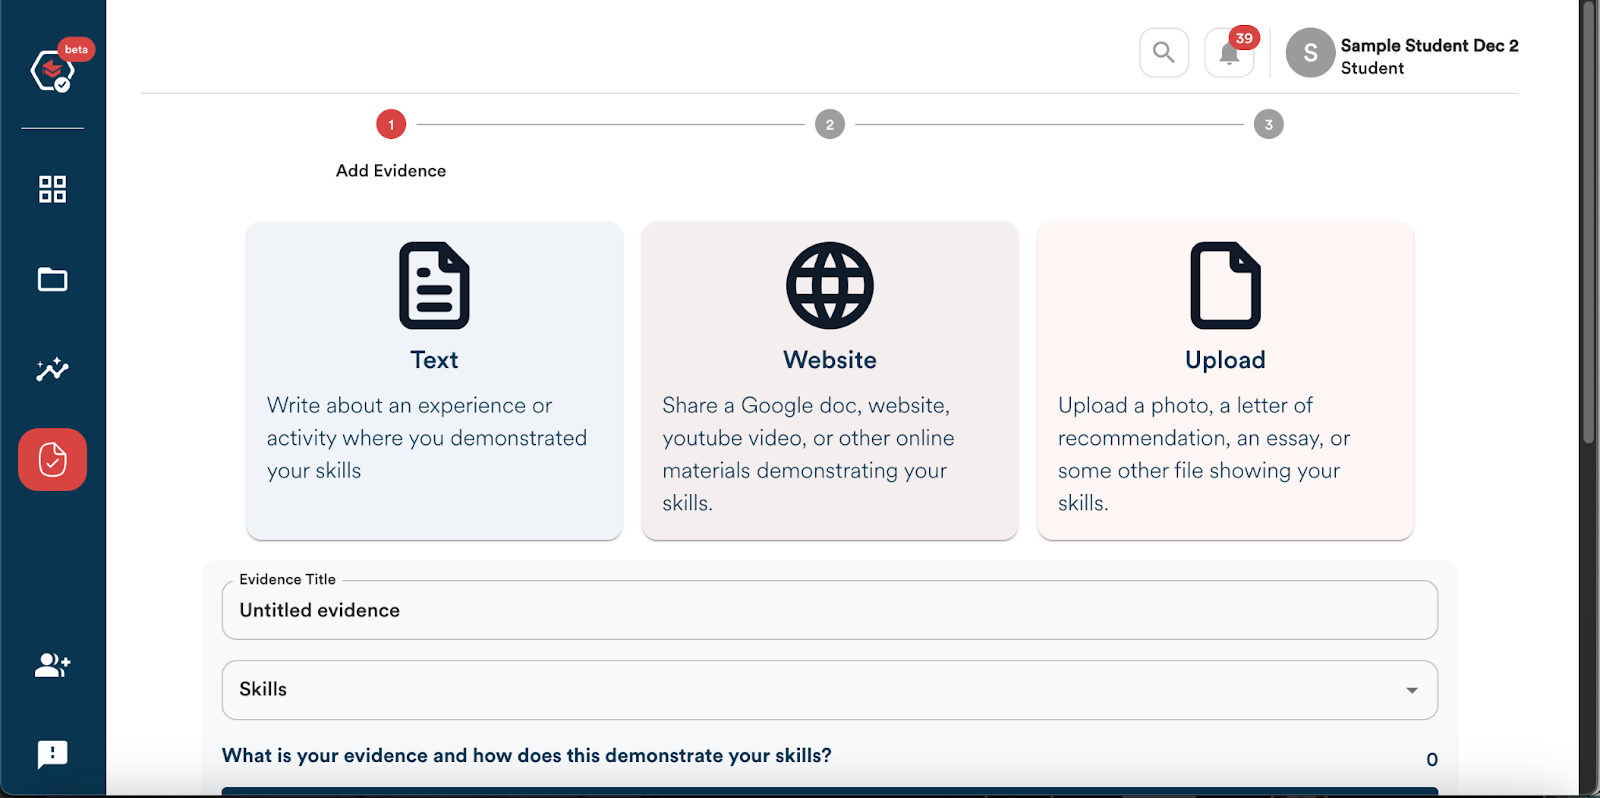
If the evidence is towards earning a skill, you will see this information indicated above where you can select which type of evidence to submit.
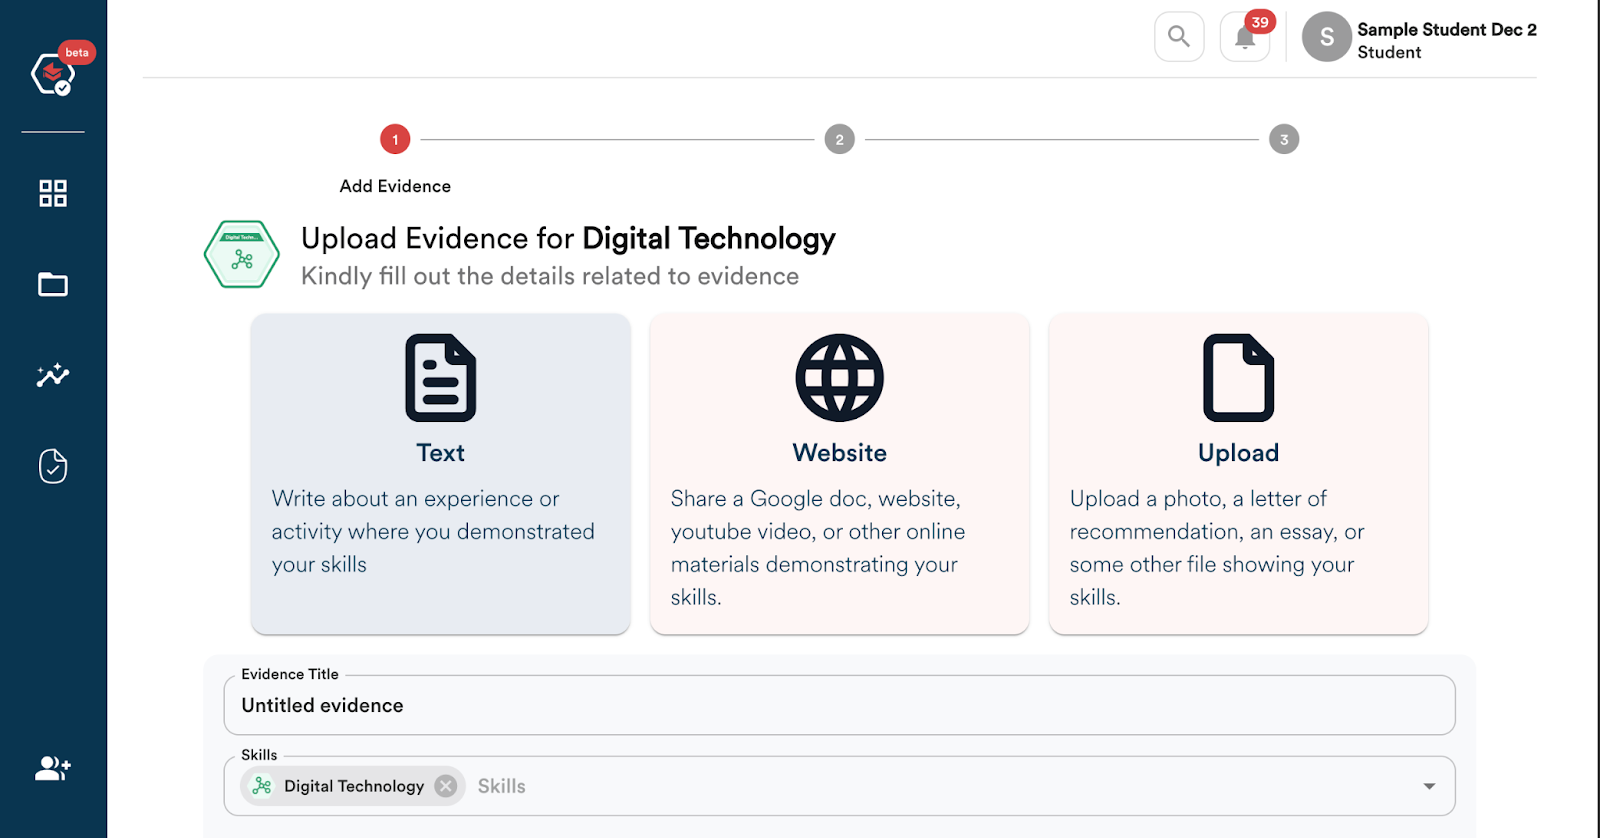
Students will then need to enter the following information:
- Evidence Title
- The Skills associated with the Evidence. Note – This will already be entered if the evidence is towards earning a Skill.

3. Insert the Text, Website, or File upload
4. The Time Spent on the task/evidence/experience
5. The Location where the task/evidence/experience took place
6. Who should be the Evaluator of the Evidence?
7. If the Evidence is Work-Based Learning or Community Service
Once this has all been entered, you will click the “Next” button located at the bottom right of the screen.
Just like when submitting evidence for assignments, you will be taken to a screen that asks you “How much did you enjoy this activity?” with five face emojis.
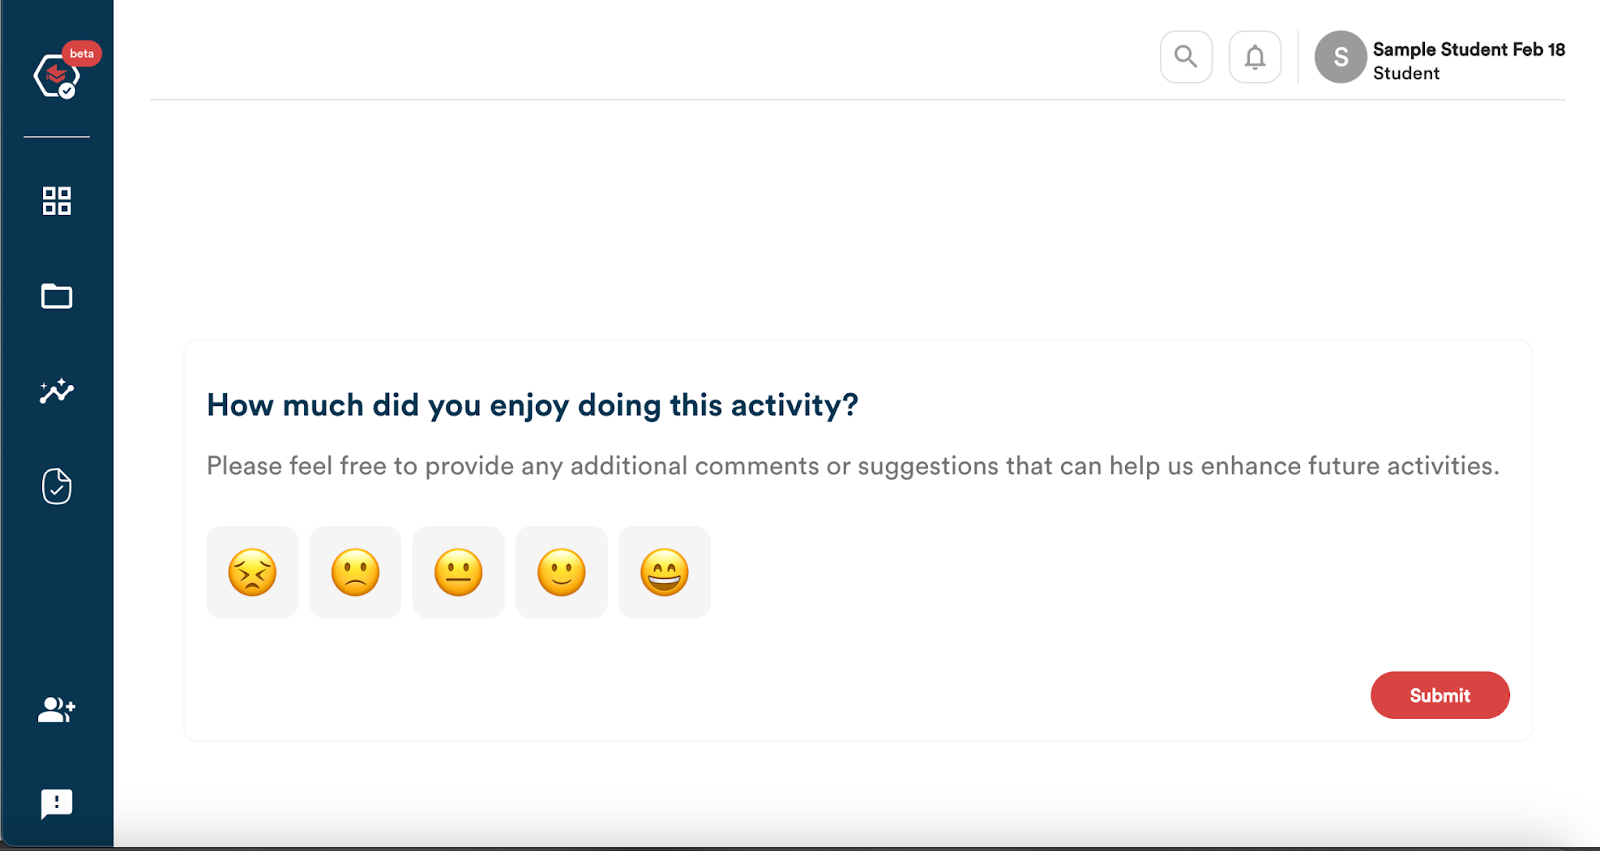
You will select the appropriate face emoji and hit to submit the evidence.