Creating & Managing WBL Activities
1. Navigating back to the Dashboard, click on the “Activities” link in the navigation bar on the left side of the screen.
2. The “Activities” display provides a list of activities created for your organization. On this page, you can display all activities in the organization or limit the list shown to “Collections” and “My Activities.” You can use the search box to find a specific activity. You can also filter based on “Activity,” “skills,” “career cluster,” “WBL” (work-based learning) and “C.S.” (community service). You can toggle between a display as a list and a display as icons. You can also sort the list by “Activity,” “Skills,” number of “Assignments,” number that have “Participated” (currently deactivated), “Score”, “Career Cluster”, date “Created”, “WBL,” and “Community Service.” Under “Activity” there are three dots aligned vertically. Clicking on the dots,
3. Opens a pop-up menu to “Assign Activity” or “Copy Link”.
4. Click the “Search” field to search for a specific activity by name.
5. Click on “Activity Type”.
6. Use the dropdown menu to scroll through to find a specific activity type.
7. Click on the Activity type to select it (e.g., “Classroom & Virtual Sessions”)
8. Click on “Skills.”
9. Use the dropdown menu to scroll through to find a specific skill.
10. Click on the Skill to select it (e.g., “Creativity/Innovation”)
11. Click on “Career Cluster.”
12. Use the dropdown menu to scroll through to find a specific career cluster.
13. Click on the Career Cluster to select it (e.g., “Business Management & Administration”)
14. Click the “WBL” field.
15. Limit activities to just those that are WBL.
16. Click the “C.S.” field to limit display to activities that include community service.
17. Click here.
18. To toggle display to icon layout, click the lines icon to toggle back to list display.
19. To create an activity that can be assigned to students, click “Create Activity.”
20. Select an activity type, and click on it (e.g., “Simulated Work Experiences”) to go to the creation screen.
21. Click on the up arrow to upload an activity Cover.
22. Click on “Upload Activity Cover” to search your local drive for an image.
23. Click the G to search the web for a cover image.
24. Click on the “Search for Images” field.
25. Type your search terms (e.g., “Simulated Work Experience”) and click “Search.”
26. Hover over the image you like.
27. Click to select (e.g., “Do More”).
28. After selecting a cover image, click on the “Title” field.
29. Type the name of your activity (e.g., “Simulated Work Experience 1.
30. Click the “Activity Type” field if you wish to modify the activity type.
31. Scroll through the dropdown menu to choose an activity type
32. Click on your selection (e.g., “Simulated Work Experience”).
33. Click on “Activity Duration”.
34. Click on the arrows in hours and minutes to set the duration or type values in the boxes.
35. Click “Set” to save.
36. Click the “Career Cluster” field.
37. Use the dropdown menu to scroll through to find a specific career cluster.
38. Click the “Start Date” field.
39. Click on the calendar icon to open the calendar.
40. Select your start date, use the down arrow to select the year, and side arrow to move between months.
41. Click the “End Date” field.
42. Click the calendar date icon.
43. Select the end date for your activity.
44. Click on the Overview text field.
45. Type a description of your activity (e.g., “During this activity, you will engage in everyday activities associated with working in Education. You will submit a lesson plan at the end of the experience to demonstrate mastery”)
46. Click on the red bubbles below select Age Range and slide to select range (“Grade 11 (age 16)”).
47. Click on the red bubble and slide (“Grade 7(age 12)”)
48. Click on the Community Service box to indicate if the activity includes community service.
49. Community Service box filled in with a check.
50. Click “Upload” to search the local drive and attach files/documents.
51.Click “Link” to search the web and link webpages.
52. Click the “Resource URL” field.
53. Paste in your URL and Click “Attach”
54. Click “Next”
55. Click on the method to review the activity (e.g., “Periodic Reflections”).
56. Click “Next”
57. Click the “Skills” field to add skill requirements.
58. Use the dropdown menu to scroll up and down to find specific skills (e.g., click “Creativity/Innovation”)
59. Click the “Skills” field to add another skill.
60. Scroll and click on the next skill to be included (e.g., “Global/Intercultural Fluency”).
61. Click the “Skills” field to add another skill.
62. Click the third skill to be added (e.g., “Career Management”). Repeat until all related skills have been added.
63. Click “Next”
64. Click “Submit”
65. To edit an existing activity, click on the pencil icon.
66. Make any changes and click “Next”
67. Change the way to track and review the activity, if necessary, (e.g., click on “Custom Tasks”).
68. Click “Next”
69. Click the “Title” field.
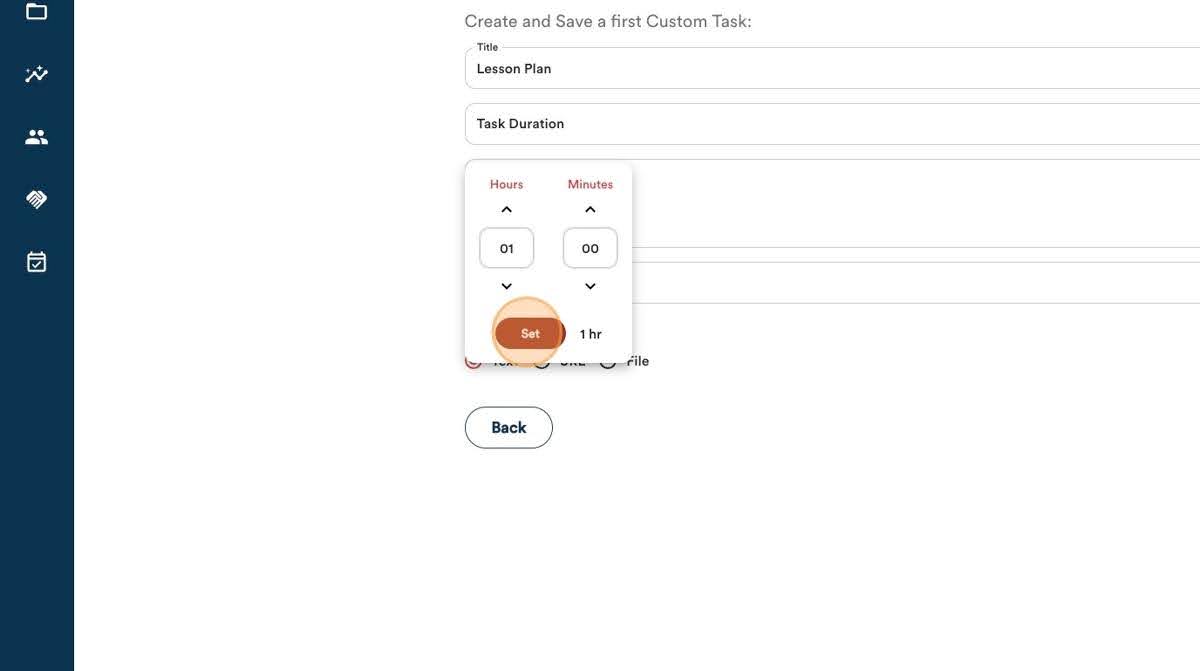
70. Type a title for the custom talks (e.g., “Lesson Plan”), and then click the “Task Duration” field.
71. Use the up and down arrows to set hours and minutes or type in a value in each box.
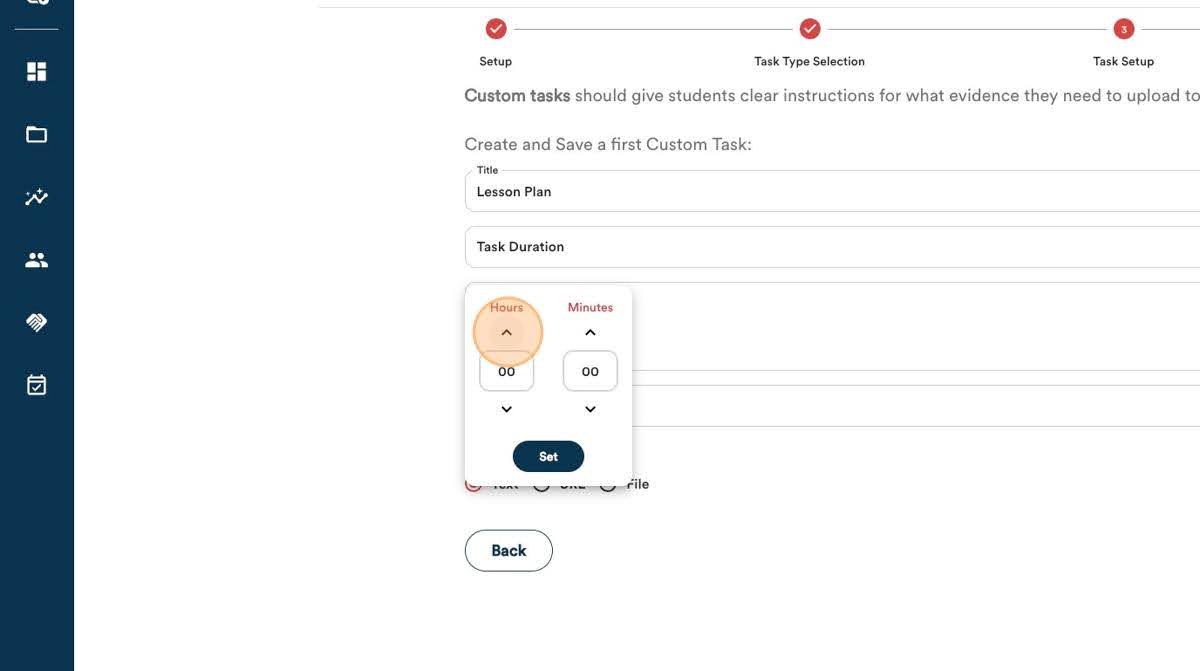
72. Click “Set” and save the time.
73. Click the “Instructions” field.
74. Type your instructions (e.g., “Upload a lesson plan based on your simulated work experience in education”); then, click the “Skills” field.
75. Use the dropdown menu to search for specific skills to be associated with the evaluation.
76. Click the on the specific skill to add it (e.g., Digital Technology).
77. Click on the Skills field again to add additional skills (e.g., “Leadership”).
78. Repeat to add all the necessary skills
79. Click “Oral and Written Communication” for example
80. Click the type of evidence to be submitted field (e.g., “File”).
81. Click “Save”
82. Click “Next”
83. Click “Submit”